This page will quickly walk you through the process to get ICS Calendar or ICS Calendar Pro up and running. Links to more detailed instructions are provided as you go.
Quick Start Guide
Step 1: Install the Plugin
ICS Calendar (free): In your WordPress admin, navigate to Plugins → Add New Plugin and search for “ICS Calendar”. You should see the familiar red “ICS” icon. Click Install and then Activate.
Get more installation help here.
ICS Calendar Pro: After you purchase a license here, you’ll receive an email with instructions to download the plugin ZIP file. You can also download it here (login required).
Once you have the ZIP file, go in your WordPress admin to Plugins → Add New Plugin → Upload Plugin and upload the ZIP file, then click Activate. Then navigate to ICS Calendar → Settings and Utilities → License and enter the license information provided in your email.
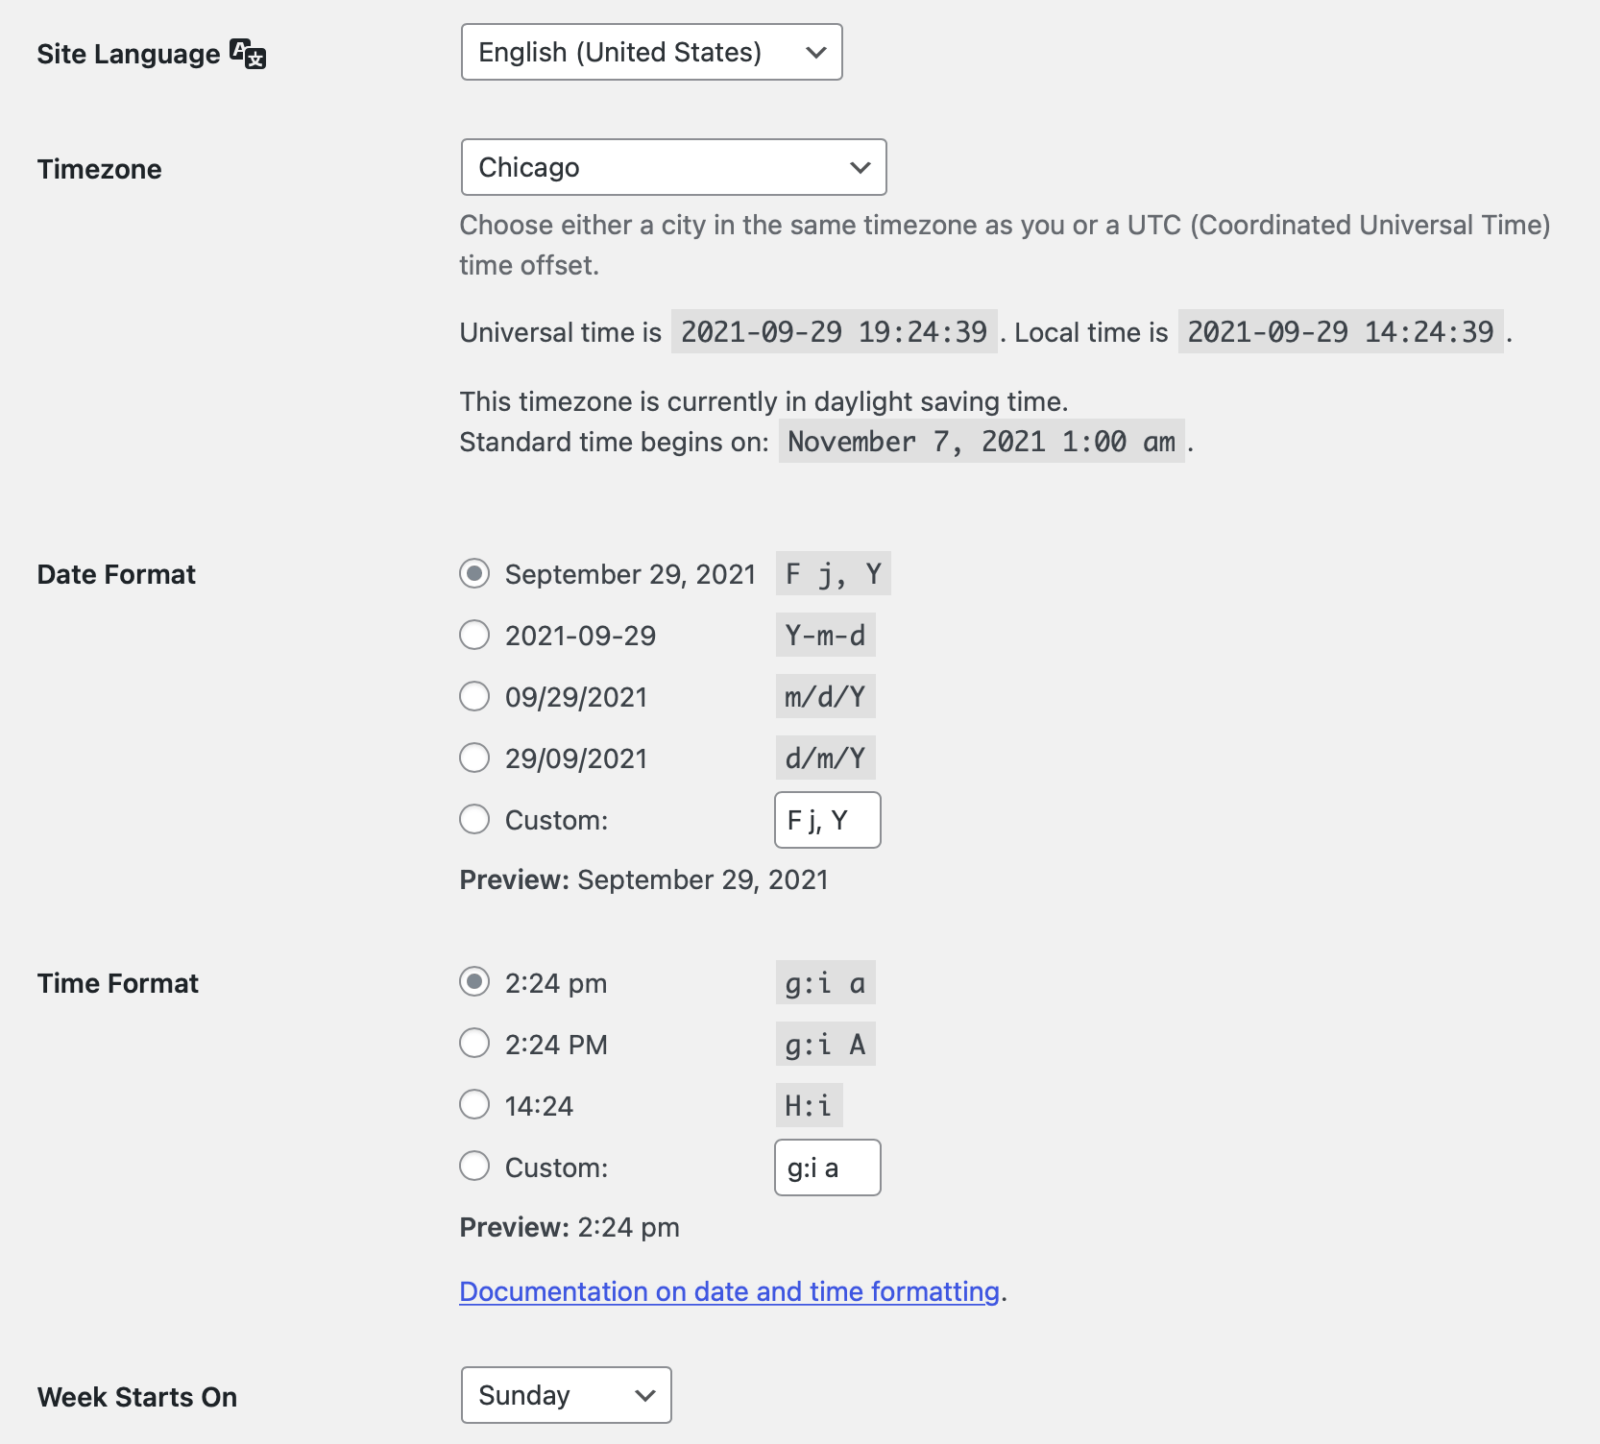
Step 2: Check Your WordPress Settings
In your WordPress admin, navigate to Settings → General and make sure your timezone is set — it should be set to a region/city, not a UTC offset — and that other settings such as date and time formats, language, and first day of the week are set to your preferred choices. Learn more here.
Step 3: Find Your ICS Feed URL
Depending on which calendar source you’re using (Google Calendar, Microsoft 365, iCloud, Airbnb, etc.), the process for obtaining the ICS feed URL will be different. We’ve linked to instructions for some of the most popular platforms in the list shown at right.
Be sure you are using an ICS (iCalendar subscription) URL! The easiest way to tell if you have the correct URL is to try to load it directly in your web browser. It should download a file with a .ics extension that can open in your computer’s calendar app. You can also use the ICS Feed URL Tester in your WordPress admin under ICS Calendar → Utilities.
How to find your ICS feed URL:
- Google Calendar
Use the Public address in iCal format option. - Microsoft Outlook/Office 365
Use the ICS link option under Publish your calendar. - iCloud (Mac/iOS Calendar)
Use the Public Calendar option described in step 4. - Airbnb
Step 4: Create a Shortcode
ICS Calendar (free): Once you have decided where on your site you want your calendar to appear, edit that page in WordPress admin. If you’re using the Block Editor, insert a Shortcode block. If you’re using the Classic Editor, simply begin typing the shortcode in the desired location within your page content.
The basic ICS Calendar shortcode looks like this:
[ics_calendar url="YOUR_ICAL_FEED_URL"]ICS Calendar offers a wide array of shortcode parameters to customize your calendar. You may want to use our online Shortcode Builder to assist you.
ICS Calendar Pro: In ICS Calendar Pro, you do not need to manually create your shortcode. Instead, go to ICS Calendar → Calendar Builder in your WordPress admin to manage your calendar configuration with a simple visual interface. Once you’ve configured the calendar as desired, ICS Calendar Pro automatically creates a simple shortcode for you, like this:
[ics_calendar id="12345"]Simply paste that shortcode into a Shortcode block or the desired location in the Classic Editor. If you wish to make changes to your calendar configuration, you can edit it in Calendar Builder, and any locations using that ID-based shortcode will update automatically.
If you’re using the Block Editor (Gutenberg), you can also use the ICS Calendar Pro Block… simply insert the block, then select the desired saved calendar from the dropdown menu in the sidebar.
Our full User Guide provides more in-depth details about all of the steps above.